Last Updated on October 25, 2019 by themechanic
 The internal combustion engine is like the heart of any vehicle. It creates the power and force needed to rotate the wheels and move the vehicle around. The engine is comprised of several moving components as well as an engine control unit which monitors the performance of the engine and its corresponding parts. This unit is like a central computer which communicates with various sensors positioned all around the vehicle. If these sensors detect some component of the engine is not functioning properly, then it will relay this information to the engine control unit.
As a courtesy to the driver, the unit activates the “Check Engine” warning light on the dashboard whenever a problem is detected with the engine. Of course, it doesn’t tell the driver specifically what that problem is. All they know is that it is a problem with some corresponding part of the engine, and it must be investigated before something seriously goes wrong with it.
How to Reset
The Check Engine light should not just be left on and ignored. There is obviously a reason for why your engine control unit decided to activate the light. So, if you want to reset the light so that it doesn’t stay on anymore, there are 3 ways you can go about doing this. We will explore those ways for you now.
1) Investigate the Issue
The most obvious remedy for resetting the Check Engine light is to fix whatever caused it to activate in the first place. To figure out the exact cause, a diagnostic system check must be run on the powertrain. There are diagnostic scanning tools that you can purchase to do this yourself, but it is recommended that you have it done by a mechanic instead. They’ll know what the trouble codes mean on the screen of the tool. Besides, the mechanic is the one who’ll fix the problem for you anyway. So, it is better they run the diagnostic check themselves so that they know exactly what to fix. Once they’re finished, the engine control unit will detect no further issues and then deactivate the Check Engine light.
2) Reset the Diagnostics Computer
Of course, the engine control unit is never perfect when it comes to deactivating the warning light after the problem is fixed. Sometimes it takes days or weeks for the Check Engine light to shut off. In rare cases, the light may not shut off at all. This might happen if there’s a glitch in the system which is not allowing the light to turn off. In this case, you must reset the diagnostics computer by using something known as a Check Engine Light Code Reader. If you visit your local car dealership, they should reset the computer for you free of charge.
Read also:
- 5 Causes of a Bluetooth Not Connecting to a Car Stereo
- The Difference Between a Dead Battery and Bad Alternator
- 5 Advantages of Drive by Wire Technology in a Vehicle
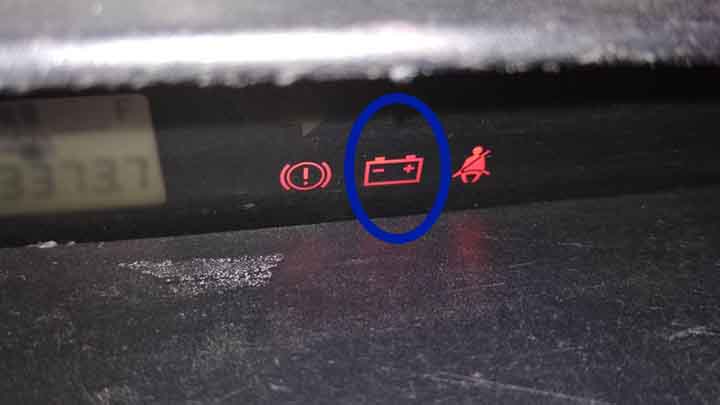
3) Uninstall and Reinstall the Battery
If you’re still having problems resetting the Check Engine warning light, then you may have a serious electrical issue that is preventing it from turning off. The other two methods will usually be successful in resetting the light but in case they are not, you should try taking out the car battery from its terminal. Next, turn on the headlights and any other electronic components to ensure all the power is trained from the diagnostics computer.
At this point, the previous diagnostic information on the computer should be gone too. That means whatever caused it to keep the Check Engine light activated will no longer be there. Finally, place the car battery back in the terminal and reconnect all the wires. Turn on the engine and see if you’ve successfully reset the Check Engine light.

)