Last Updated on February 19, 2026 by John Tim
Venturing into the outdoors for your first tent camping trip can feel both exciting and a little overwhelming. The fresh air, the sound of nature, and the simple joy of sleeping under the stars await, but getting there starts with a solid tent camping setup. Many beginners worry about pitching their tent correctly, avoiding common pitfalls, or ending up uncomfortable overnight. This comprehensive guide walks you through every stage of a proper tent camping setup, drawing from years of personal camping experiences and best practices shared among outdoor enthusiasts. Whether you’re heading to a national park, a local campground, or a backyard test run, following these steps will help you create a safe, comfortable, and enjoyable base camp. By the end, you’ll feel confident in your ability to handle tent setup like a seasoned camper.
Preparing Before You Leave Home
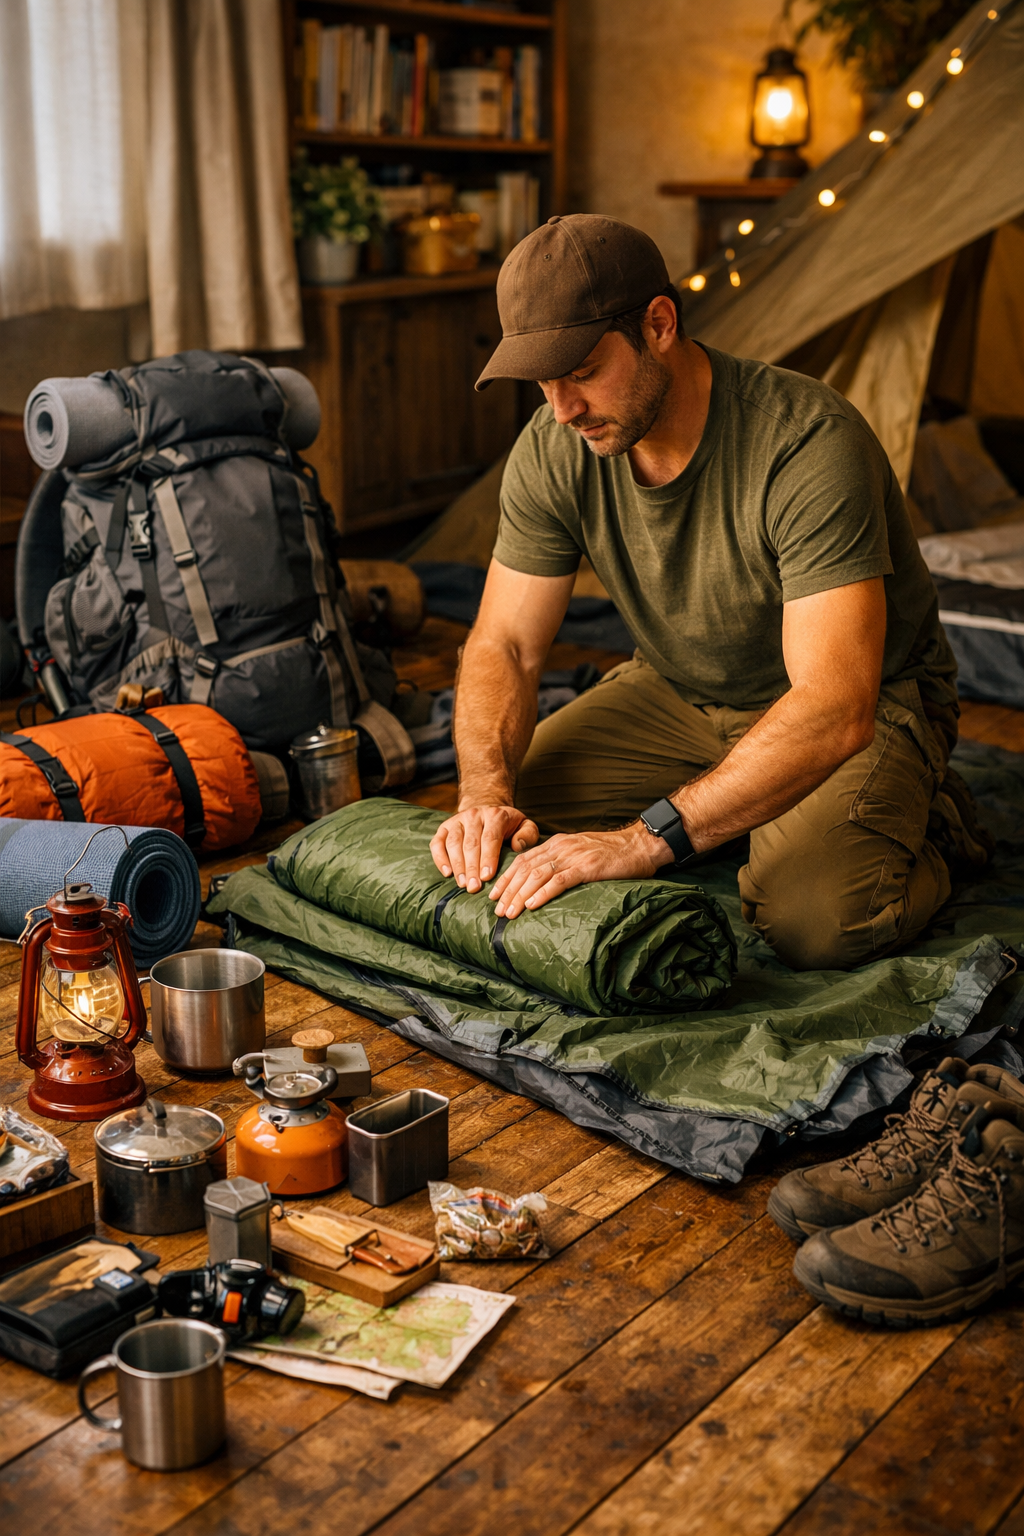
Success in tent camping begins long before you arrive at the campsite. Taking time to prepare at home eliminates stress and prevents surprises in the field. Start by thoroughly reading your tent’s instructions. Each model varies slightly—some use color-coded poles, others clip systems—so familiarizing yourself with the specifics saves time and frustration later.
Practice setting up the tent in your backyard, living room, or driveway at least once, ideally twice. This dry run lets you identify any missing parts, such as stakes or guy lines, and ensures you understand the process without pressure. Inventory all components: tent body, rainfly, poles, footprint or groundsheet, stakes, and any repair kit. Pack everything neatly back into the carry bag to confirm it fits for transport.
Consider weather forecasts for your destination. If rain is likely, prioritize waterproofing items like seam sealer if needed. Pack appropriate sleeping gear, including a sleeping pad for insulation and comfort, along with layers of clothing. These preparations build a strong foundation for smooth tent camping setup once you’re on site.
Choosing the Perfect Campsite Location
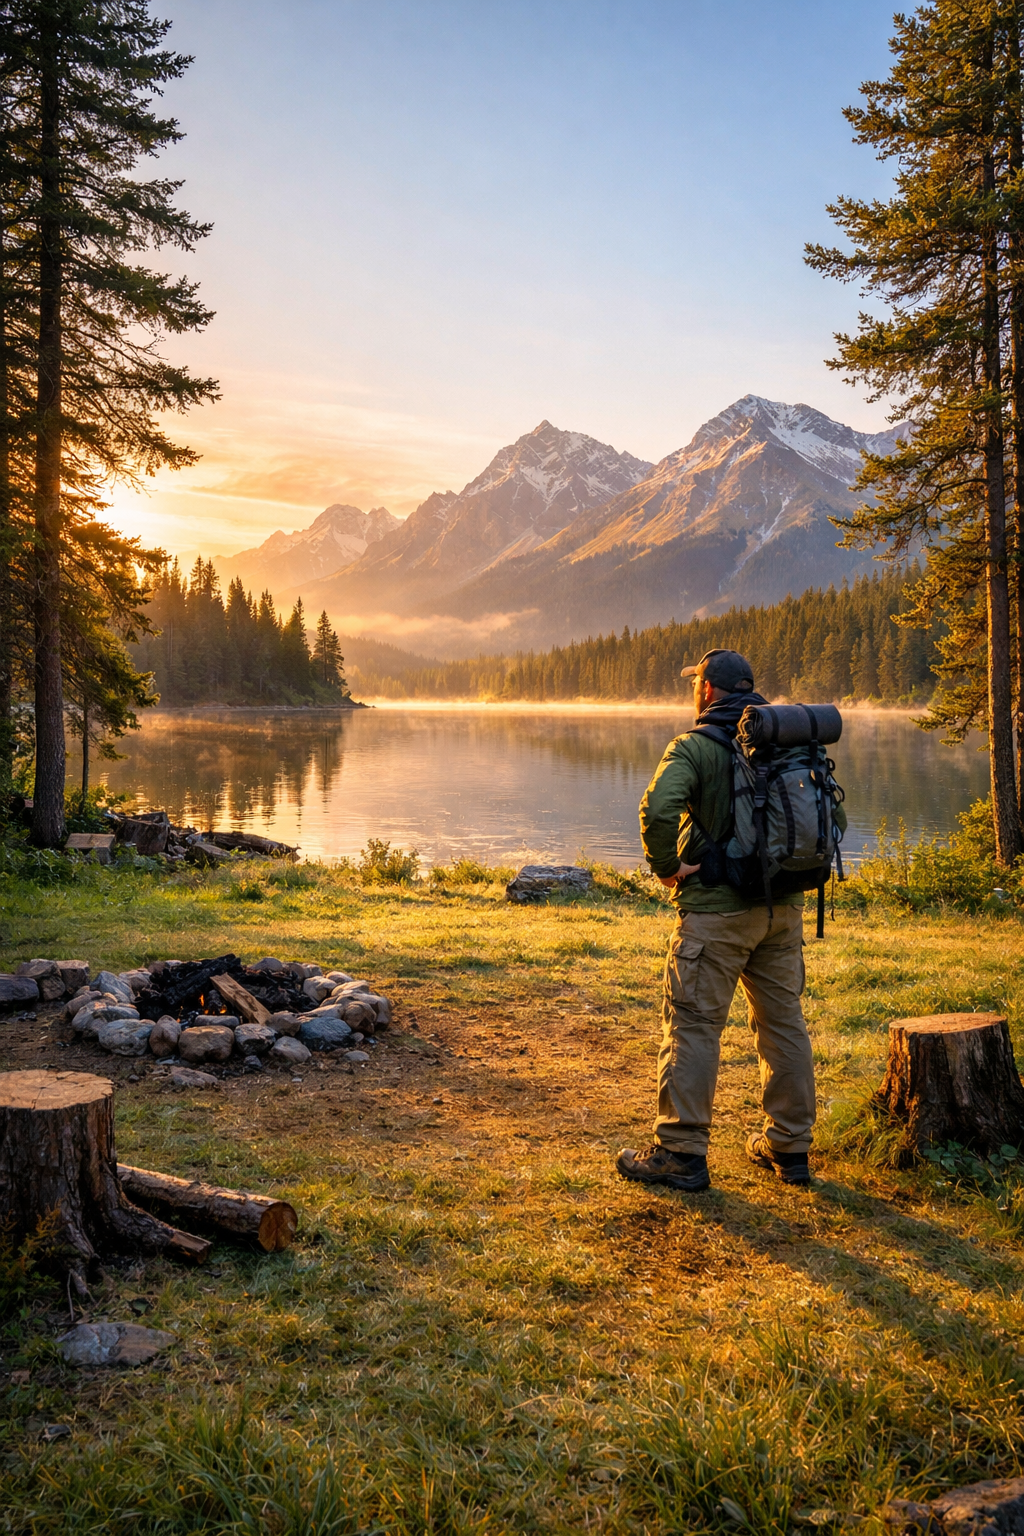
Arriving at your destination marks the moment when careful selection becomes crucial. A well-chosen spot makes all the difference in comfort, safety, and enjoyment. Look for level ground first—uneven surfaces lead to sliding sleeping bags and restless nights. Avoid low-lying areas where water collects during rain; even a slight slope can direct runoff toward your tent.
Scan for hazards overhead. Dead branches, known as widowmakers, pose serious risks if they fall during wind or storms. Steer clear of trees with heavy limbs directly above your planned setup. Position your tent away from potential flooding zones, such as dry creek beds or depressions.
Think about wind direction and natural shelters. Placing the tent door away from prevailing winds reduces drafts and keeps the interior calmer. Nearby boulders, bushes, or trees can act as windbreaks without blocking ventilation. Follow Leave No Trace principles by choosing durable surfaces like established tent pads when available, minimizing impact on vegetation.
Once you find a promising area, walk it thoroughly. Clear small debris like rocks, sticks, or pinecones that could puncture the tent floor or create uncomfortable pressure points. This extra effort pays off in better sleep and a longer-lasting tent.
Laying the Groundwork: Footprint and Tent Placement
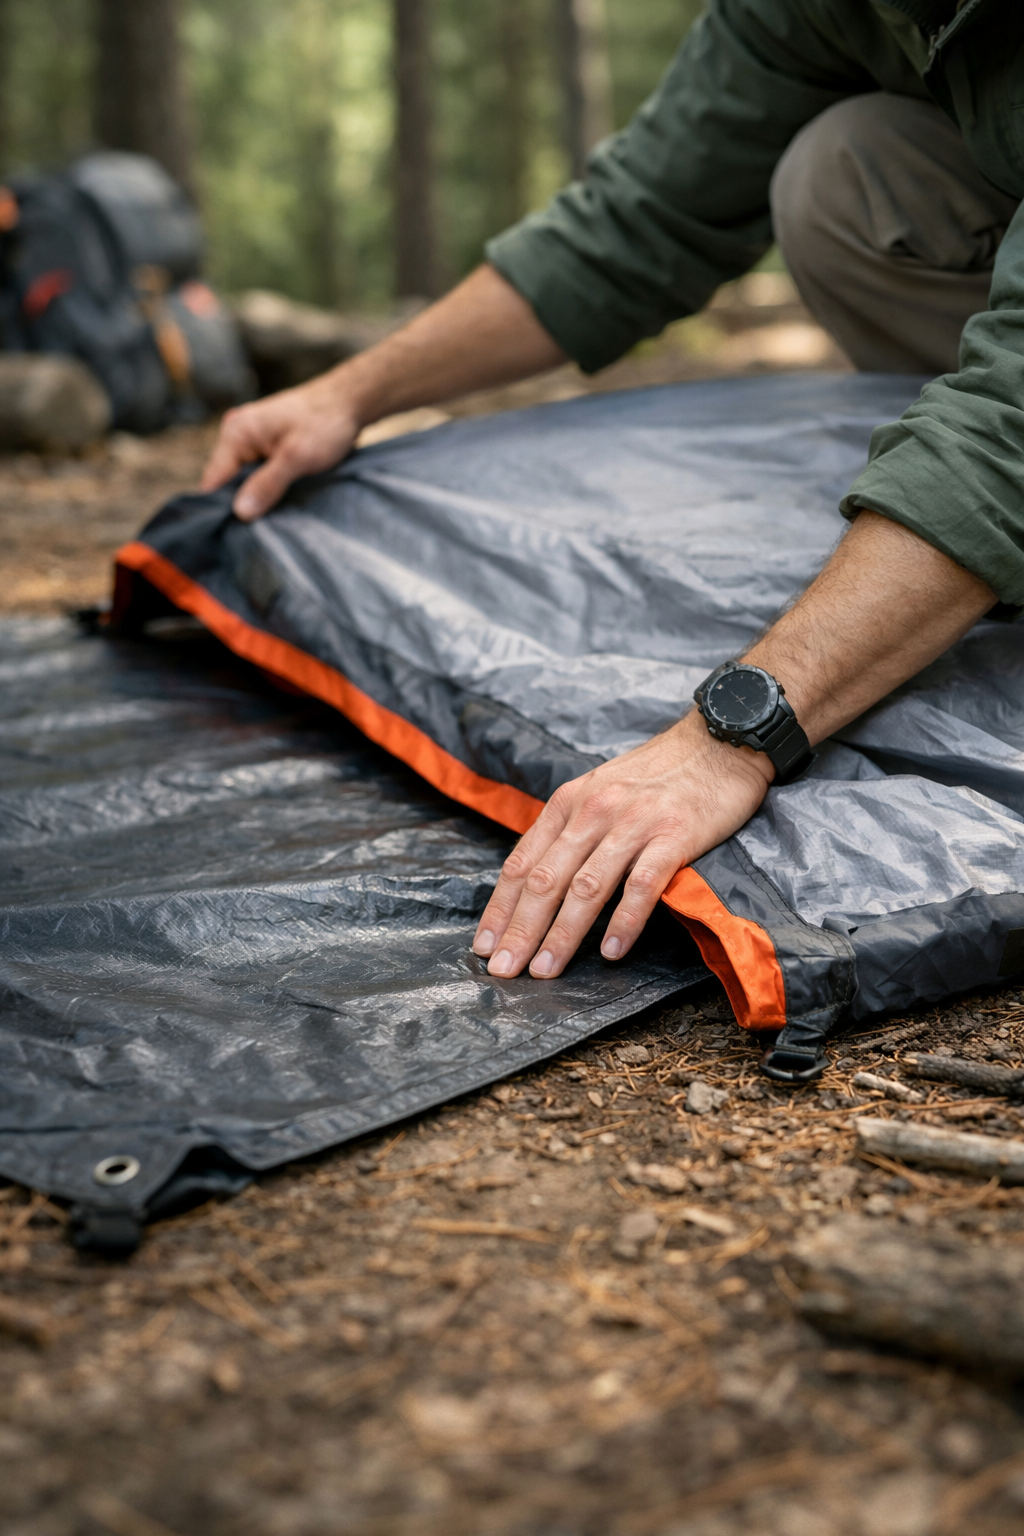
With your site selected, begin the actual setup by protecting the tent base. A footprint, or groundsheet, serves as the first line of defense against moisture, abrasion, and sharp objects. If your tent came with a dedicated footprint, use it; otherwise, a tarp cut slightly smaller than the tent floor works well. Lay it out shiny side up if applicable, ensuring it sits flat without wrinkles.
Position the footprint precisely where the tent will go, aligning corners carefully. This step prevents the tent floor from direct ground contact, extending its life and keeping the interior drier.
Next, unpack and spread the tent body over the footprint. Match corners exactly and orient the door thoughtfully—facing away from wind or toward a scenic view, depending on conditions. At this stage, avoid staking yet if wind is calm; secure placement comes after poles are in.
Assembling Poles and Raising the Tent
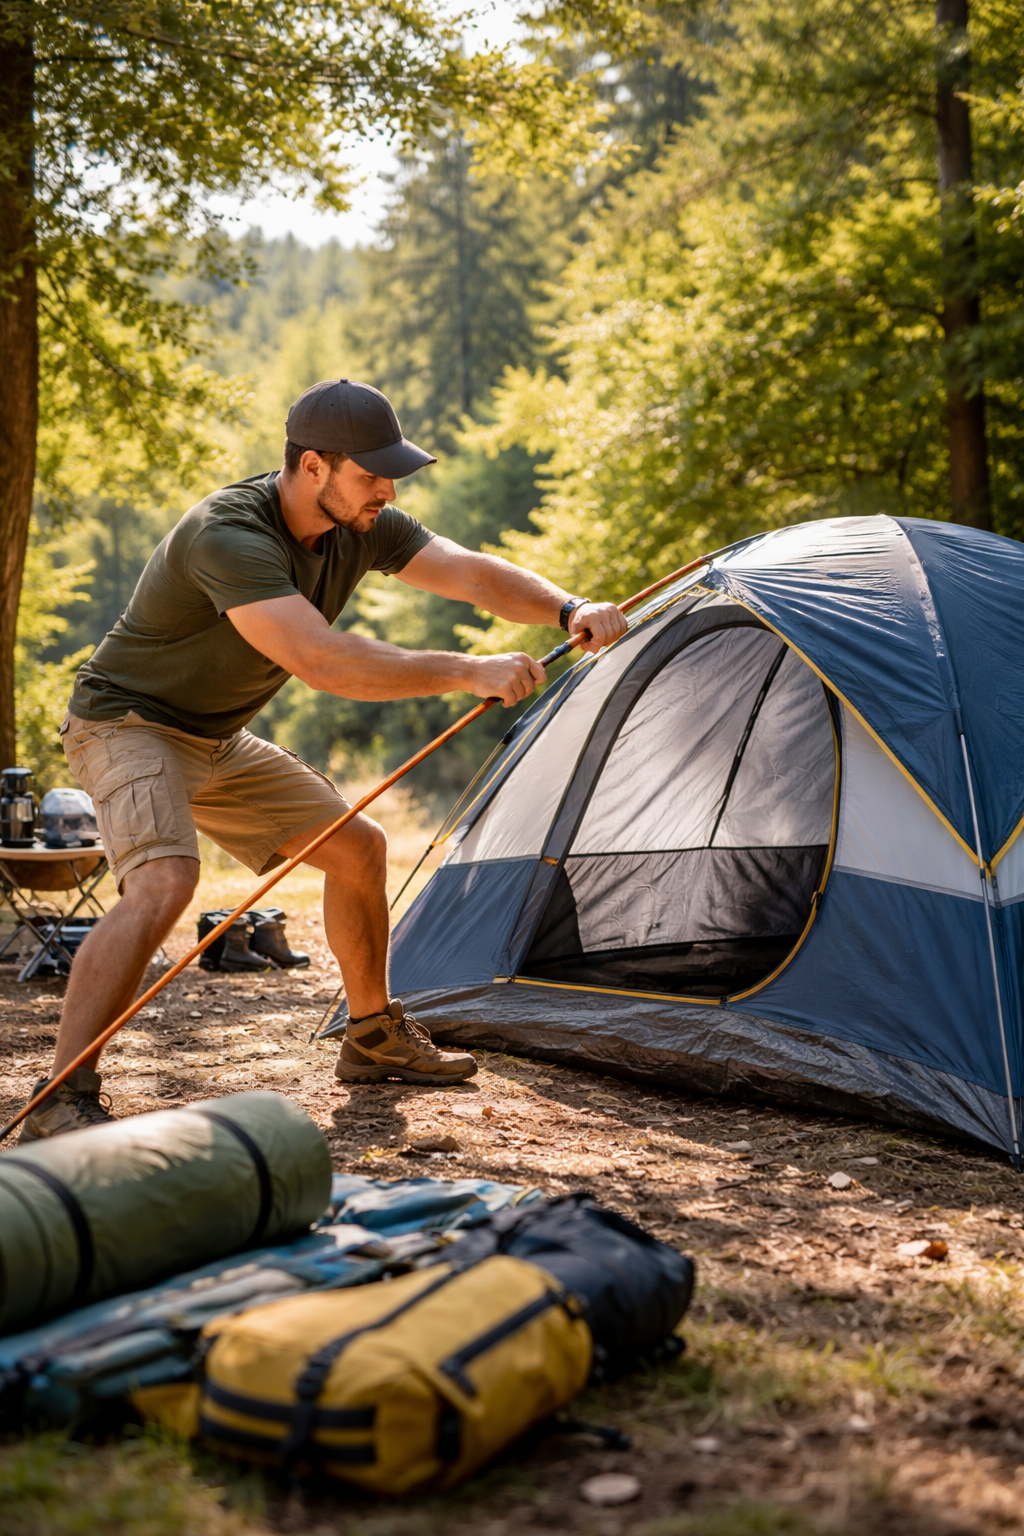
Poles represent the skeleton of most modern tents. For freestanding designs, which stand on their own without stakes, start by connecting pole sections. Shock-corded poles snap together easily—handle them gently to avoid bending or damaging fiberglass or aluminum segments.
Thread or clip poles according to your tent type. Some slide through sleeves, others attach via clips along the seams. Follow color coding if present, matching pole ends to corresponding grommets or clips. Once inserted, attach pole tips to the tent corners, creating the basic structure.
Gently raise the tent by pushing poles upward until the frame pops into shape. For larger tents, this might require two people, but many solo setups work fine with practice. Adjust as needed for even tension, ensuring seams align properly.
Securing with Stakes and Guy Lines
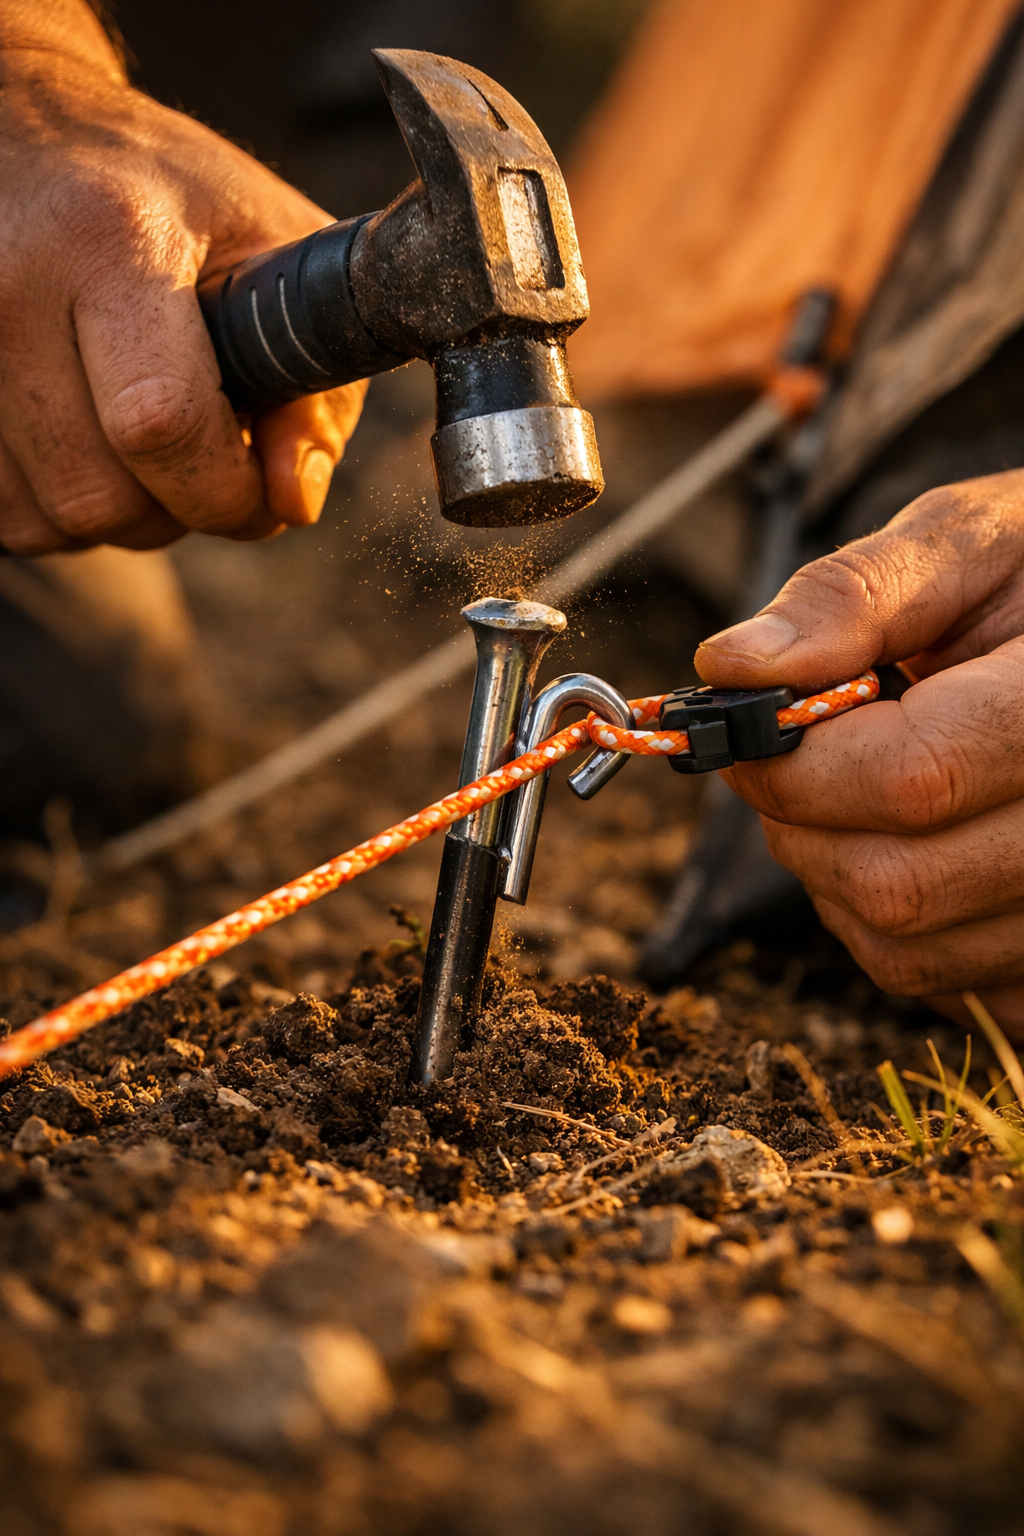
Stability comes next. Stake down the tent corners first, pulling fabric taut but not overly tight to allow for natural flex. Drive stakes at a 45-degree angle away from the tent for better hold, especially in soft soil. Use a mallet if ground is hard, or your foot for softer earth.
In windy conditions, extend to guylines. Attach them to designated loops and stake them out at angles, creating additional anchors. Tighten lines evenly to prevent sagging or flapping fabric.
If rain is possible, install the rainfly immediately after the main structure. Drape it over the tent, clip or Velcro it in place, and stake vestibules outward. Ensure vents remain open for airflow while maintaining waterproof coverage.
Organizing Your Campsite Around the Tent
A complete tent camping setup extends beyond the shelter itself. Create distinct zones for sleeping, cooking, and storage to enhance safety and convenience. Keep food preparation and storage away from the tent to deter wildlife—hang food or use bear-proof containers as required.
Arrange gear logically inside the tent. Place sleeping pads and bags first, then personal items. Use vestibules for shoes, packs, or wet gear to keep the interior clean and dry.
Establish a fire ring or cooking area at a safe distance, following site regulations. Maintain clear paths around the tent for easy movement, especially at night with a headlamp handy.
Common Challenges and How to Overcome Them
Even with preparation, issues arise. Wind can make staking difficult—secure corners first and work methodically. Rain during setup calls for quick rainfly installation to keep contents dry.
If poles resist, check for twists or misalignments. Bent stakes indicate hard ground; carry extras or use rocks as alternatives where permitted.
For solo campers, weigh down the footprint initially with gear bags to prevent blowing away. Patience and small adjustments lead to a sturdy result.
Frequently Asked Questions About Tent Camping Setup
What is the first thing to do when setting up a tent?
The first step is choosing and preparing a good campsite location. Find flat, level ground free of rocks, sticks, and hazards, then clear debris before laying down a footprint.
Do I really need a footprint for my tent?
Yes, a footprint or groundsheet is highly recommended. It protects the tent floor from punctures, moisture, and wear, significantly extending the tent’s lifespan.
How do I set up a tent by myself?
Practice at home first. Lay the footprint, position the tent, assemble and insert poles, raise the structure, then stake corners and attach the rainfly. Work methodically and use gear bags to hold things in place if windy.
Should I stake my tent even if there’s no wind?
It’s best to stake it down anyway. Stakes provide stability against unexpected gusts and keep the tent taut for better performance in rain or condensation.
What if it starts raining while I’m setting up the tent?
Prioritize getting the rainfly on quickly after the main body is up. Keep the tent doors closed during setup to minimize water entry, and have a tarp ready if needed for extra protection.
How tight should I make the tent stakes and guy lines?
Pull fabric taut but allow slight give. Over-tightening can stress seams; aim for even tension that prevents sagging without straining materials.
Where should I position my tent door?
Orient the door away from prevailing wind to reduce drafts. Consider views, proximity to facilities, or morning sun depending on your preferences.
Embracing the Adventure of Tent Camping Setup
Mastering tent camping setup transforms a potentially daunting task into a rewarding ritual that sets the tone for your entire outdoor experience. From pre-trip practice and thoughtful site selection to careful footprint placement, pole assembly, and secure staking, each step builds confidence and comfort. Beginners who follow this process consistently find themselves enjoying peaceful nights, protected from elements, and more connected to nature. The key lies in preparation, attention to detail, and learning from each outing. As you gain experience, these steps become second nature, opening doors to countless adventures. Step outside, pitch your tent with care, and discover the simple magic of sleeping under the stars—your perfect campsite awaits, ready for you to make it home for the night.

