
The crankshaft pulley serves as a mechanical system for distributing power throughout your vehicle. It is mounted onto the crankshaft of your engine, and it is responsible for moving the drive belts which allow the engine accessories to function. Components like the air conditioner compressor, steering pump, and alternator depend on the crankshaft pulley in order to function properly themselves.
If there ever comes a point when you need to replace your crankshaft pulley with a new one, you’ll have two choices. You can either learn how to do the replacement job yourself or you can take your vehicle to an auto mechanic and hire them to do the replacement for you.
If you hire a mechanic to perform the job, they will charge you hundreds of dollars in labor costs alone. That is added onto the cost of the crankshaft pulley part, which is anywhere from $100 to $350. As a result, the total you’d have to spend on the professional replacement service is between $200 and $450. This doesn’t even include the tax and added fees either.
On the other hand, if you perform the replacement job yourself, your only expense will be the cost of the crankshaft pulley itself. This cost is between $100 to $350, depending on the type of vehicle you have. Just make sure you don’t mess anything up in your vehicle as you’re performing the job. It helps to have a guide which walks you through the steps.
Steps to Remove and Install Crankshaft Pulley
To save you money by avoiding the labor costs of a mechanic, below are the steps of how to remove the old crankshaft pulley and install a new one in your car.
1) Find the Crankshaft Pulley
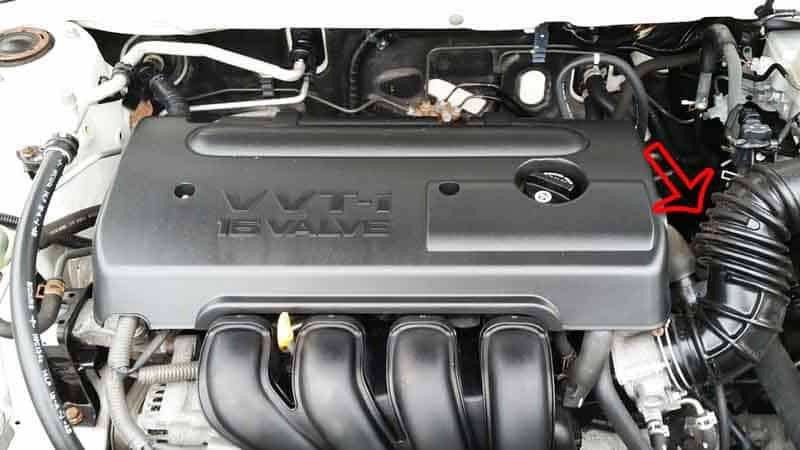
The first step is finding the crankshaft pulley in your vehicle. It should be located in the compartment of the engine on the left side, which is the driver’s side. The timing belt of the vehicle should be on either the left side or right side. Wherever you see the timing belt, the crankshaft pulley should be near it. Usually, it’s the left side of the compartment.
2) Take Off the Wheel
Depending on where you’re going to work, you need to prepare to remove the front wheel on your vehicle (If your vehicle front engine front wheel drive). Take a lug wrench and remove the lug nuts from the wheel. Make sure your vehicle is set to the parking gear. Now raise the vehicle with a jack on the side where your loose wheel is located. Remove the wheel and tire.
3) Remove All Drive Belts Attached to the Pulley
The next step is, remove all belts that attached with crankshaft pulley, such as, alternator belt, vane pump belt, ac compressor belt and so on.
4) Take Out the Crankshaft Pulley Bolt
You should now see the position of the crankshaft pulley underneath your vehicle. It is held in position by a special bolt in the center of the pulley. You will need a crankshaft bolt remover tool to remove the bolt. Just apply the tool to the head of the bolt and proceed to loosen the bolt. It may take a lot of rotations before the bolt finally comes loose from the pulley.
5) Remove the Crankshaft Pulley
Now that you’ve gotten the bolt removed, you can proceed to remove the crankshaft pulley. Using a puller remove the crankshaft pulley out. And then you can remove the timing cover if you need to replace the timing belt or any other vital components too.
6) Install the New Crankshaft Pulley
If the old crankshaft pulley is removed, you can proceed to add the new crankshaft pulley and reverse the entire process to complete the installation. Make sure you tighten the bolt very tightly back onto the crankshaft pulley. Once again, the torque could take a while before it is complete, so be patient with it. Lower your vehicle down to the ground, put the tire and wheel back on, and reinstall the lug nuts.
Read also:
- Top 7 Best Car Seat Travel Bags
- Top 10 Best Bluetooth Speakerphones for Your Car
- 5 Symptoms of a Failure Car Crankshaft Pulley and Replacement Cost
- 5 Symptoms of a Bad Serpentine Belt in Your Car
- Top 7 Best Windshield Sun Shades for Your Car
Conclusion
Test out your vehicle and see if all those engine accessories now work. If they do, then you’ve successfully removed and installed your crankshaft pulley.
