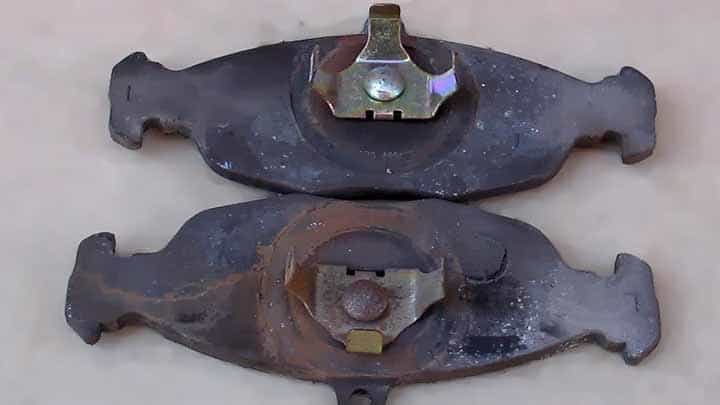
If your vehicle has a disk braking system, then it contains brake rotors and brake pads. The pads push against the spinning rotors to create the friction needed to slow down and stop the vehicle. As you can imagine, brake pads wear out very quickly from all the braking that you do each day. If you frequently drive around town where braking is common, then your brake pads will become even more worn out. This means you may need to replace your brake pads every couple of years or so, depending on how often you drive and the types of environments that you commonly drive in.
New brake pads are not too expensive to purchase. However, the biggest expense comes from hiring a mechanic to replace the brake pads for you. The average mechanic will charge between $50 to $100 per hour for their replacement services. What most laypeople don’t realize is that replacing brake pads is not that hard of a job. In fact, it is something that can be done at home if you have the right tools. Then you can save yourself a couple hundred dollars in labor costs.
10 Easy Steps
Before you begin replacing your brake pads at home, there are some important tips that you need to know first. This will help you avoid making a costly mistake and reduce the chance of having an accident.
Below are the 10 Simple Steps for replacing brake pads at home.
1) Read the Owner’s Manual – If you don’t have automotive repair knowledge, then you need to read the owner’s manual of your vehicle. It will help guide you on basic things like locating the jack points, the thickness of your rotors, and the weight capacity of your vehicle.
2) Find a Flat Surface – Choose a flat even surface to do the replacement job on. If your vehicle is parked on an incline, decline or rough terrain, then it will become a safety hazard. Use your driveway or garage for the replacement work if you have enough space on them.
3) Use a Car Jack and Stand – Replacing a brake pad requires you to remove the wheel, tire, and caliper. You cannot do this if the tire is still touching the ground. Use the standard car jack that came with your vehicle to jack up the car in the appropriate area.
Read also:
- 5 Symptoms of Transmission Fluid Leak and Repair Cost
- How Often to Change Car Transmission Fluid in Manual and Automatic
- The Average Differential Repair Cost: Front and Rear
4) Get a Brake Pad Spreader Tool – When you install new brake pads, the brake caliper piston will need to be adjusted to them. Use a brake pad spreader tool to make the adjustment easier. You can purchase the tool on Amazon for about $10.
5) Purchase the Right Brake Pads – Brake pads are not all the same. You need to research the correct brake pads to use for your make and model vehicle. The owner’s manual should tell you this. Otherwise, contact your car dealership or research the brake pad model number online.
6) Loosen Lug Nuts First – Before you jack up the vehicle, make sure you loosen the lug nuts first with the wrench that came with the vehicle. Then you can easily remove the lug nuts after the vehicle is jacked.
7) Remove the Pins and Bolts of the Caliper – There are pins and bolts which secure the caliper in place over the brake pad. You need to remove the pins and bolts before you can remove the caliper and brake pad.
8) Apply Anti Seize Lubricant – Before you install the new brake pads, apply some anti seize lubricant onto the pads’ left and right side. This will make it easier to slide the brake pad into the brake caliper. Avoid touching the friction material of the pad.
9) Use Brake Grease – Put a small amount of brake grease on the caliper pins and any other friction areas. That way, you won’t hear any squealing sounds when you use your brakes.
10) Bleed the System – Air may have entered your caliper pistons during the replacement process. This means you need to bleed the air from the calipers. But if the bleeder screws weren’t open when you compressed the caliper pistons, then don’t worry about bleeding the system.


