
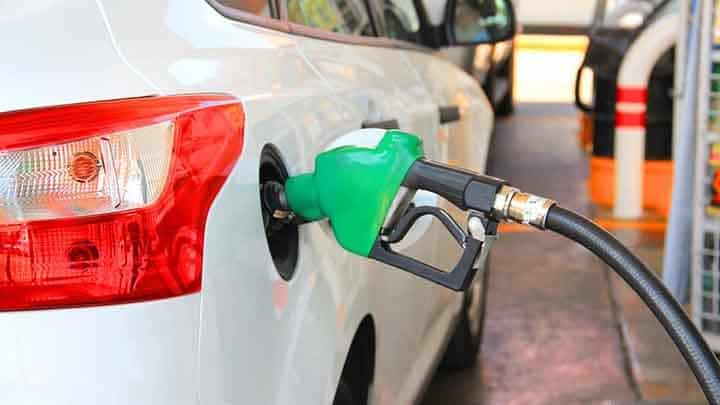
Most car owners take their fuel injectors for granted. They just assume their fuel injectors will always function properly without ever getting clogged. However, as the years pass by, there is a slow build-up of debris which will eventually clog the fuel injectors. If you don’t ever clean your fuel injectors, then don’t be surprised if they stop working properly someday.
Clogged fuel injectors are unsuccessful at sending an adequate amount of fuel to the engine when it is needed. And whenever the engine doesn’t get enough fuel, there ends up being a lean air-fuel mixture in the combustion chamber. This means that more air exists than fuel in the mixture, which results in low engine performance after the ignition of the mixture takes place.
If you normally bring your car to the auto service station for an oil change and other minor checks, the service people won’t usually check whether your fuel injectors are clogged. It is better that you ensure they never get clogged by cleaning them every year or so. Otherwise, you may get stranded someday when your fuel injectors fail to deliver the right amount of fuel to the engine.
Auto technician may offer a fuel injector cleaning service, but their prices tend to be rather inflated. You are much better off cleaning the fuel injectors yourself. It is a much simpler process than you might think. It only requires you to purchase a fuel injector cleaning kit and learn the 5 basic steps of the cleaning process. Once you learn them, you’ll never want to spend hundreds of dollars for a professional to clean your fuel injectors ever again.
Read also:
- How Does VTEC Work?
- 5 Symptoms of Cylinder Head Crack and Repair Cost
- 5 Causes of Car High Fuel Consumption in Petrol and Diesel Engines
The 6 Steps
If you haven’t already purchased your fuel injector cleaning kit, you can find them available for sale online or at virtually any auto parts store. Each kit comes with the necessary tools to perform the cleaning procedure, such as a gauge, cleaning fluid, and a hose. Fuel pressure gets measured with the gauge. The hose is inserted into the fuel injection system. The cleaning fluid, of course, is the formulated cleaning solution which works to actually unclog the fuel injectors.
If you find a fuel injector cleaning kit which was made by the same manufacturer as your car, then you should definitely purchase that one above all the rest. Otherwise, you’ll find that most cleaning kits are universal, which means the make and model of your vehicle do not matter. The kit should clean the fuel injection system of any vehicle.
To help you succeed in cleaning your own fuel injectors, below are the 6 main steps to this cleaning process.
1) Open the hood of your vehicle. Locate the area where you’re fuel injectors are installed. It should be close to the engine head. Look for a nozzle which sticks into a chamber. The owner’s manual can assist you in locating the fuel injectors if you have trouble.
2) Once you’ve found the injectors, remove the fuel pump from them. Direct the fuel into the tank with a U-tube or fuel return line. Take off the pressure regulator vacuum line.
3) Open your cleaning kit and take out the hose. Connect the hose to the fuel pressure port. Keep the fuel and injectors separated for now. Otherwise, the cleaning fluid may ignite, which you certainly don’t want to happen.
4) Remove the fuel tank cap. The cleaning fluid must be applied to the injectors by using the canister. You can expect pressure here while the injection takes place. Leave the cap open to reduce pressure.
5) Make sure the fuel pump is turned off. Get into the car and start up the engine. Let it run for up to 7 minutes. This will be enough time for the cleaning fluid to circulate inside the fuel injectors and clean them out. After the cleaning fluid is not there anymore, the engine will turn off by itself automatically.
6) Take out the hose and canister. Reinstall the fuel pump and vacuum line. Reinsert the cap on the gas tank.
You are done! The fuel injectors should be all cleaned out now.

)